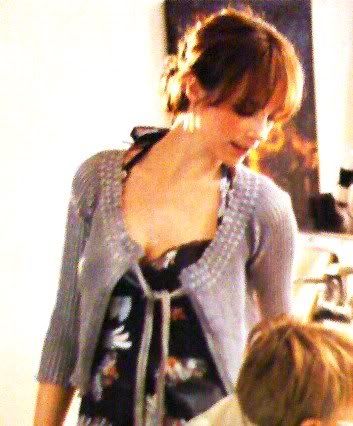
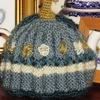
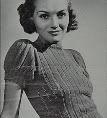
As usual, the designers took a simple silhouette and made it amazing with the shape, colour palette and stitches used... In this case, knit and purl.... and maybe a few Yarn-overs.
This is my take on the design:
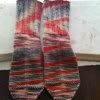
Materials - fingering weight alpaca, or alpaca and wool, or silk and wool. It needs to be a springy yarn - meaning, one that will hold its shape because it relies on stretching and bouncing back for its fit.
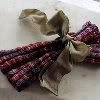
Oh, ... and lots and lots of Ribbon! Silky, satiny ribbon - not stiff at all.
Cast On - I count approximately 160 for the cast on neck edge. This of course would have to be an experiment, subject to change.
Edited to add: I am an idiot who obviously cannot do maths. The cast-on would have to be at least 180 because it must be a multiple of 3. Duh.
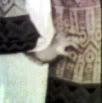
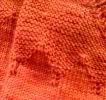
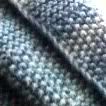
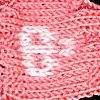
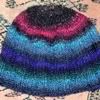
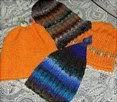
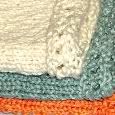
First few rows: Knit 2, Purl 1 across, ending with Knit 2. On wrong side, it would of course be Purl 2, Knit 1. This establishes the accordion pleats that make up the design.
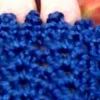
First ribbon row: Knit 2, Yarn Over, Knit 2. This is the row of eyelets that the ribbon will slip through.
Continue. These first two sections are repeated three times. This forms the yoke and should cover to the crease of the shoulders.
Sleeves - It is at this point that the sweater would be divided in its stitches - indicated with stitch markers - to divide the front sides from the sleeves and the sleeves from the back. There will be five divisions: Left front, left sleeve, back, right sleeve, right front. Increases for a raglan design will commence now, keeping the Knit 2 Purl 1 stitch pattern all the way.
Continue with regular raglan increases until the armholes are the necessary size (you can see in the photo that they are a bit tight on this model), then set the fronts and back aside on spare needles or spare yarn and - joining the sleeves in the round - complete the sleeves to the desired length. I would do them with no cuff, allowing the accordion pleats to dictate a nice bell.
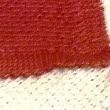
A note on Front Edges - it looks like the stitches along the front edges were picked up and knit in a tight stockinette stitch after the sweater was finished, but it would also be possible to start the knitting at the very beginning with 4 or 6 extra stockinette stitches on either front edge. I don't think that this method would be as stabilizing to the design though.
Body of sweater - When the sleeves are completed, finish the fronts and back in pattern, connecting them under the arms so you can knit in the round. Knit 2 Purl 1 until the sweater is long as you like, and then bind off using the 'sewn cast-off'.
There you have it - a nice little knit with a minimum of fuss and a lot of cute style! I wonder if a person can get a degree in "reverse-engineering"?


No comments:
Post a Comment